How do you crop a picture on snipping tool?
Once you open the Snipping tool
- Click on New.
- You’ll get a cross cursor to crop any image from the background screen.
- Make an area around the image that you want to crop (in this case Goodly Logo)
- Now the selected area will appear in your snipping tool. You can then click on Copy.
- And Paste it where ever you want.
Q. How do I crop a face in Windows?
How to crop image using Photos on Windows 10
- Open Start.
- Search for Photos and click the top result to open the app.
- Click on the picture.
- Click the Crop button from the top-center toolbar.
- Use the pins in corners to select the area you want to crop.
- Click and drag the image to center it in the cropping area.
Q. How do I crop an image or picture?
Click the gray circle in the center of your image. You should see a small gray circle in the center of your image’s frame.
Q. How do I crop a photo on my computer?
If you have a basic photo editing program on your computer, you can crop a photo and make any size picture you want. Open Adobe Photoshop on your computer. Select the photo you want to open. Click the “Crop” tool. Drag your mouse over the picture to crop it however you like. Click “Save As” under the “File” menu to save the photo.
Q. How to sort pictures in Windows 10?
– Press Windows + E keys from the keyboard to open File Explorer. – Open the Pictures folder. – Click on View option in the tool bar, expand Sort by option to find the arrangements options. See More….
Q. How to export photos Windows 10?
Open the location where the Photos are located using File Explorer.
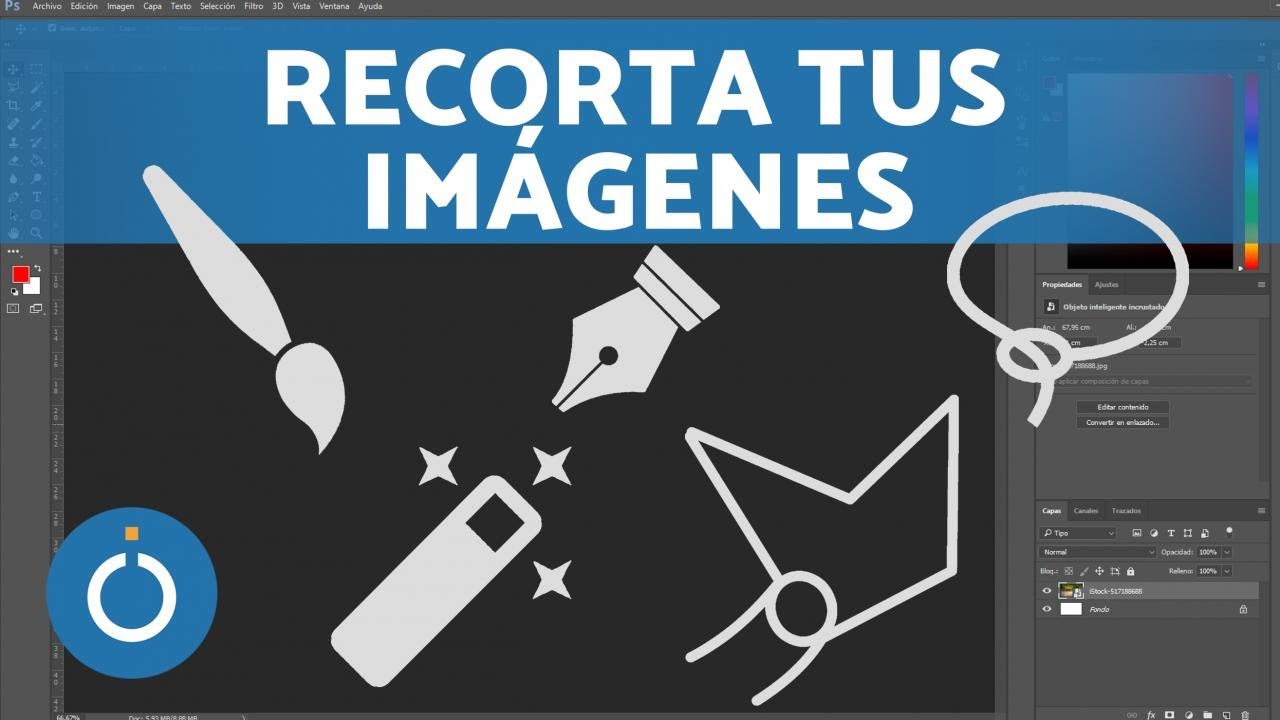
¡Recorte de IMAGEN con PHOTOSHOP en 5 minutos! Aprende a RECORTAR con PHOTOSHOP con 5 HERRAMIENTAS diferentes que seguro te ayudan en los primeros pasos con …
No Comments